Post SMTP外掛-使用gmail寄信之1
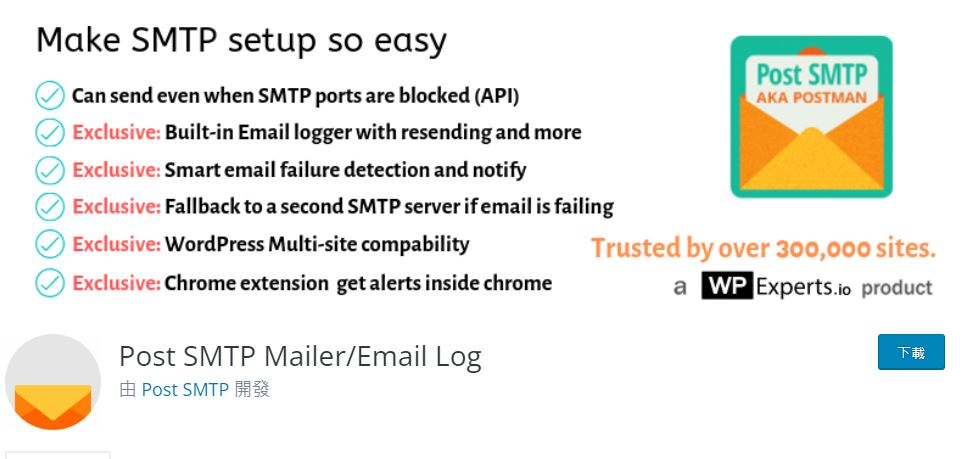
Post SMTP外掛,網上已有許多安裝與使用教學,所以這篇文章只是給自己記錄用的。承接之前【網站透過gmail寄信-啟用gmail api和oauth2.0】,已經完成gmail_api和oauth2.0的設定和啟用,再來要讓wordpress使用gmail寄信就必須安裝smtp外掛,我選擇使用的是Post SMTP。
內容目錄
隱藏
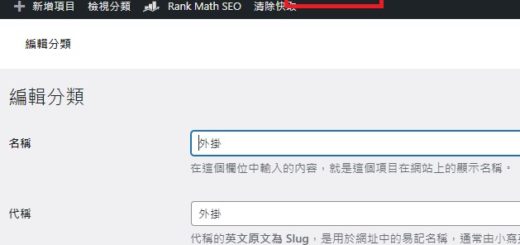
已安裝並啟用Post SMTP,進入設定畫面。
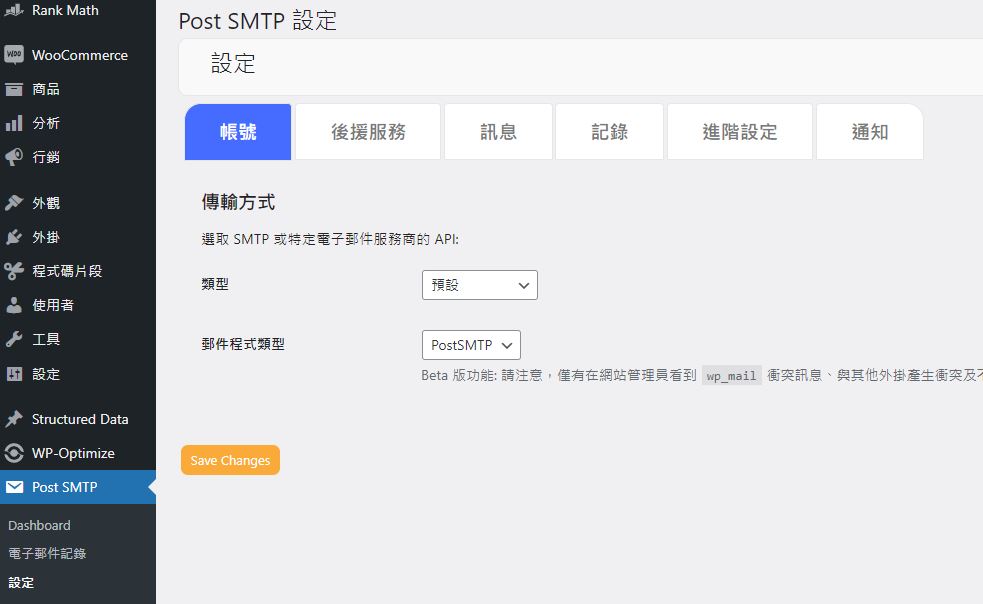
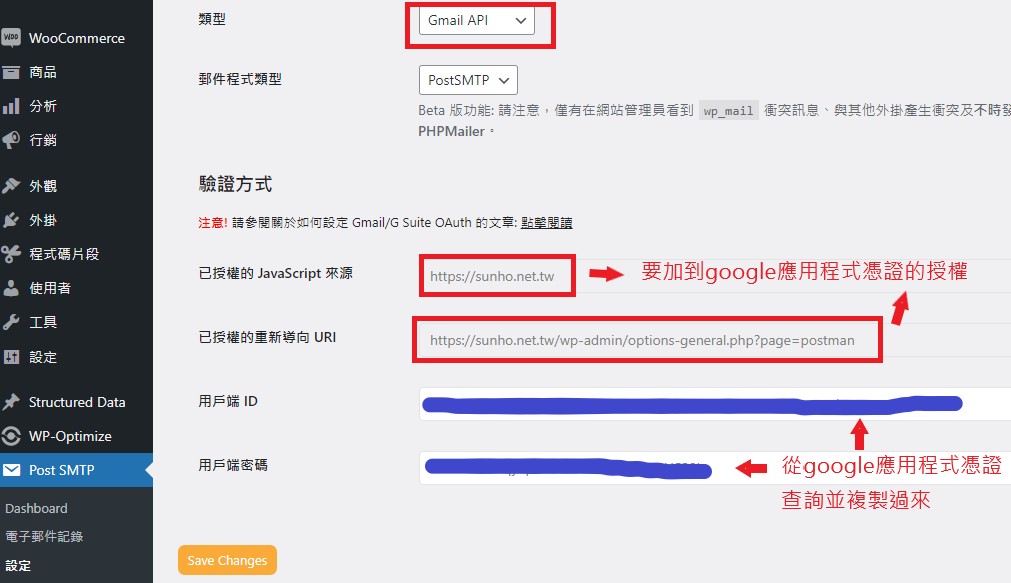
帳號類型選擇Gmail API,接著輸入用戶端ID和密碼(參考此篇網站透過gmail寄信-啟用gmail api和oauth2.0取得ID和密碼)。
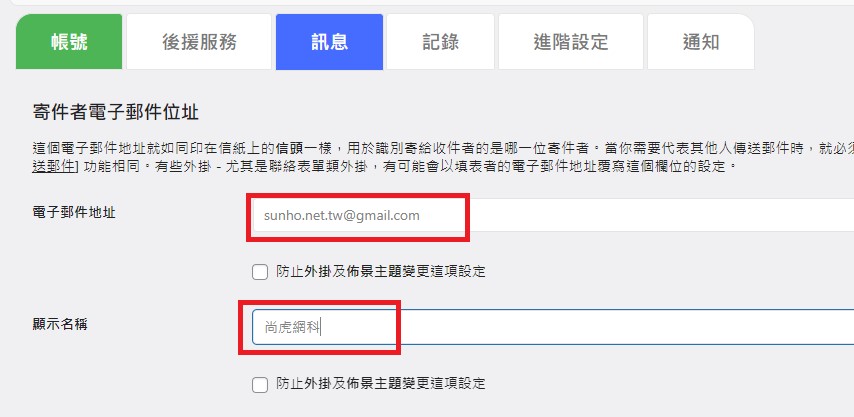
點選訊息,設定電子郵件和顯示名稱,記得Save Changes。
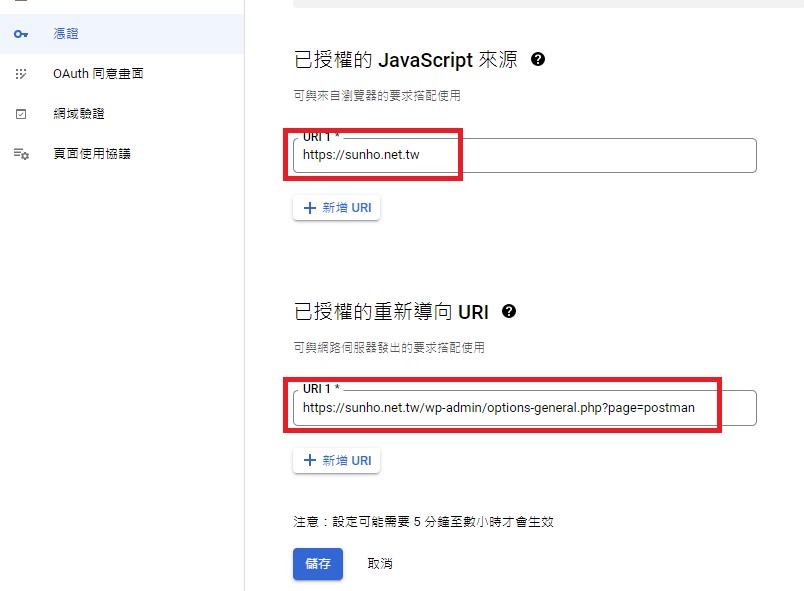
跳到Google Cloud Console的憑證編輯畫面,確認設定授權的JavaScript來源和重新導向URI(設定自己的網址)。
回到Post SMTP的設定畫面,點選要求Google授與權限。

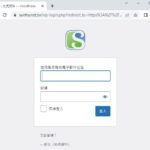
選擇寄件的Google帳戶

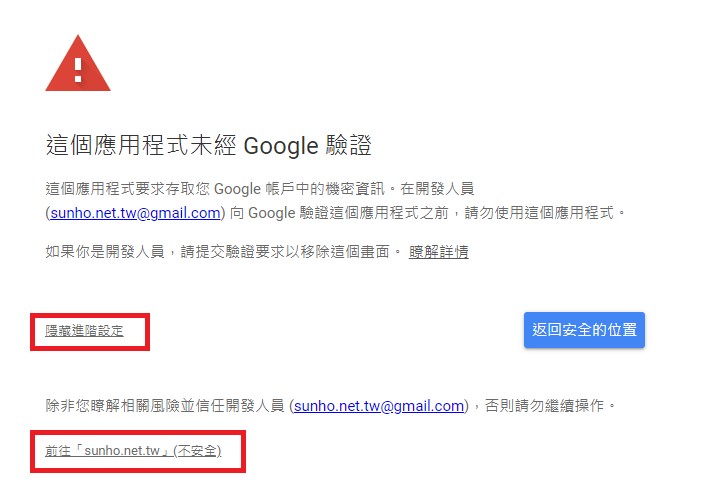
出現這個應用程式未經Google驗證畫面。點選進階,繼續前往。(這畫面不影響外掛使用,只是不想等Google審核及驗證)
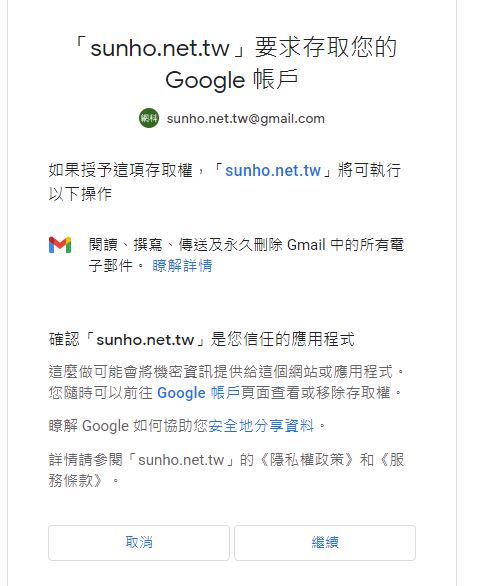
出現要求存取畫面,直接繼續就好。
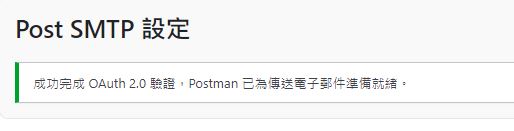
搞定,完成。
後記
如果是第一次使用wordpress的SMTP外掛,網上其它教學文章應該比較適合閱讀,較有連貫性,或是可以參考官方文How to Set up and Configure Postman SMTP on WordPress。
而我除了wordpress外,還有自己編寫的系統程式會用到gmail的smtp,所以才把gmail api及oauth2.0的申請,獨立成一篇文章,所以看起來會有點跳tone。